
Build an Online Store from Scratch with Coderblock
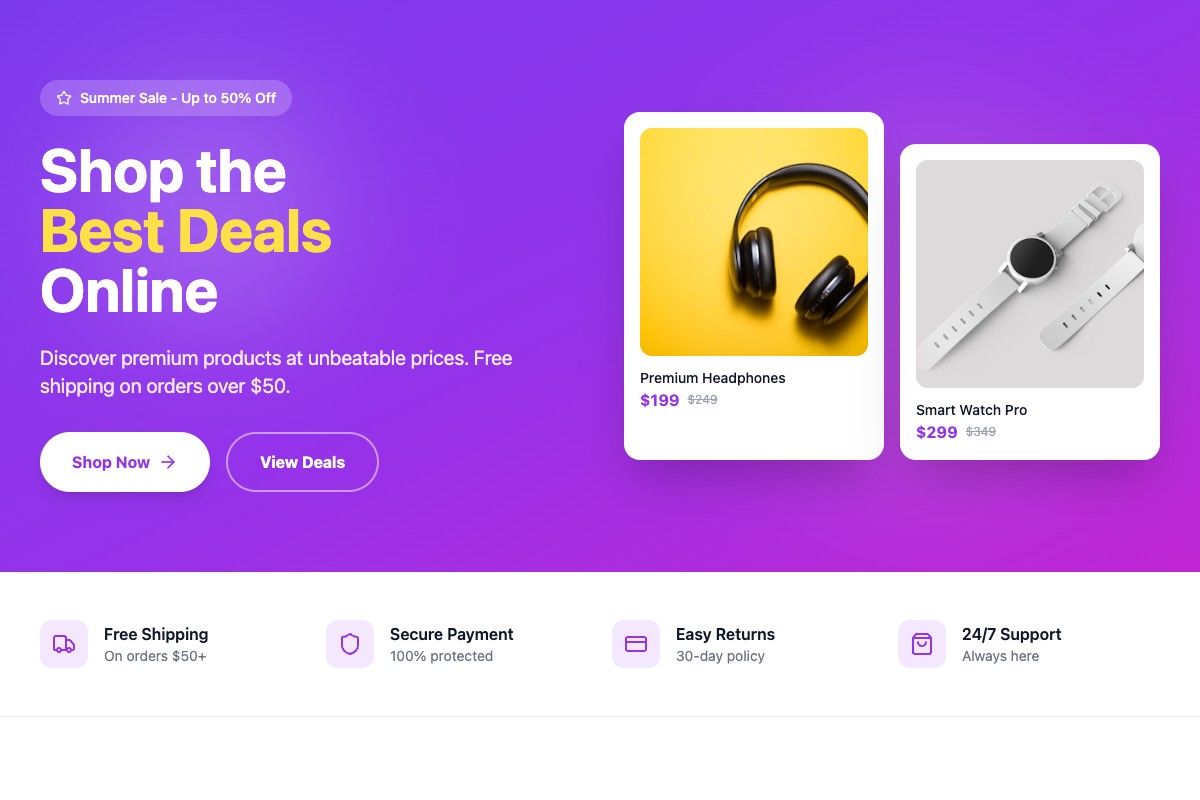
Build a full-stack online store by describing it in natural language, then refine the catalog, cart, authentication, payments, and admin tools through chat. This tutorial takes you from the first prompt to publishing a store with a real database and Stripe checkout.

What you'll build
In this tutorial, you'll build a complete, responsive online store from a simple description in chat.
By the end, you'll have:
- a catalog with product detail pages
- search, categories, and availability
- a shopping cart
- customer accounts and protected order history
- Stripe checkout in test mode
- an admin area for managing products and orders
- a real Postgres database with Row Level Security
- a production deployment with SSL
Coderblock generates the frontend with React, Vite, TypeScript, and Tailwind CSS, along with the backend and database. You manage the project through a natural-language conversation, without having to configure routes, database migrations, or payment webhooks manually.
1. Start a new project for your store
Open Coderblock and create a new project. You can start with the online store template or, if you want to build your store from scratch, simply begin by describing what you want to create.
For example:
Create a modern online store selling sustainable home accessories. Build a responsive homepage, a product catalog, category filters, product detail pages, a shopping cart, customer accounts, Stripe checkout, order history, and an admin area for managing products and orders. Use a warm, neutral color palette and make the interface accessible on both desktop and mobile.
The more information you give the agent about your products, preferred style, key pages, and required features, the closer the first version will be to what you have in mind.
Coderblock will create the frontend, backend, and database, then display the result in the live development preview at your project's .coderblock.dev address.
You can keep the chat and preview open side by side and watch your store change as you work.
2. Review and refine your store
Now it's time to explore what you've created. Test the navigation, homepage, catalog, product pages, and cart. Review the result on both desktop and smaller mobile screens.
The initial result is only a starting point. You can continue making changes directly through chat with focused requests.
For example:
- “Make the header sticky and keep the number of items in the cart visible.”
- “Display products in a four-column grid on desktop and a single column on mobile.”
- “Add filters for category, price, and availability.”
- “Add an empty-cart state with a link back to the catalog.”
- “Show related products below each product description.”
- “Add loading, error, and no-results states.”
Changes appear in the live preview within seconds. A good approach is to work in small steps: make one or two related requests at a time, review the result, and then move on to the next change.
3. Create the product and order data model
Once you've defined the store's structure, you can ask the agent to create the required data model. For example:
Create database tables for products, categories, orders, and order items. Each product should have a name, description, price, SKU, available quantity, category, image, active status, and timestamps. Orders should be linked to authenticated customers and include payment status, fulfillment status, total, and line items.
Every web application uses a dedicated Supabase project with Postgres. Coderblock designs the schema and runs the necessary migrations. You can review the result directly from the Backend tab, where you'll find tables, authenticated users, storage, and functions. At this point, you can also add some sample products:
Add eight sample products across three categories so I can test the store. Make them easy to replace later from the admin area.
If your products have specific requirements, mention them right away. For example, you can specify multiple images, sizes, colors, or other variants. You can also ask the agent to use Supabase Storage for uploaded images and link them to the relevant products.
4. Add customer authentication and security
Now you can create customer accounts and protect personal information and orders. Ask Coderblock:
Add customer sign-up and sign-in, protect the account and order history pages, and ensure each customer can only view their own orders. Add administrator and customer roles.
The agent configures Supabase Auth, including sign-up and sign-in pages, session management, protected routes, and database policies. Every application already includes a profiles table and a basic role structure. Coderblock also applies Postgres Row Level Security linked to the authenticated user. This ensures that each customer can access only their own data, while administrators receive the permissions needed to manage products and orders.
You won't need to create a custom password table or manually write code for JWTs or password hashing. If you also want to add social login, you can ask:
Add social login alongside email and password authentication.
At this point, test the behavior using separate customer and administrator accounts. Make sure a customer cannot open admin pages or view another customer's orders.
5. Build the cart and checkout
Before configuring payments, make sure the cart works as expected. Verify that customers can:
- add products
- change quantities
- remove items
- view updated totals
Once the cart is ready, you can ask the agent to add Stripe:
Let customers pay for their cart with Stripe. Start in test mode, create the required products and prices, save completed orders, and show clear pages for successful and canceled payments.
By default, Coderblock can create a managed Stripe account for the project. The agent will ask a few simple questions, such as your country and business name.
You won't need to provide API keys: Coderblock manages the payment webhook and gives you a Stripe-hosted link so you can complete payment setup and identity verification later.
If you prefer to use your own Stripe account, you can request the BYOK option.
The agent will request STRIPE_SECRET_KEY through a secure environment variable prompt. The value is stored in the project's server-side secrets vault and is never added to the generated code or regular chat. The webhook is registered automatically.
Always start in test mode.
Make a few test purchases and verify that successful payments correctly create orders and their associated line items. Also test a canceled payment and a failed payment. Switch to live payments only after the entire flow works as expected.
6. Add the admin area
A store also needs a dedicated workspace for the people managing it. You can ask the agent:
Create a protected admin dashboard where administrators can add, edit, activate, and deactivate products, upload images, update inventory, review orders, and change their fulfillment status. Include summary cards for orders and revenue.
Test each action directly in the preview. For example, verify that changes to a product are immediately reflected in the store and that a regular customer cannot access the admin dashboard. You can also add safeguards to prevent errors:
Prevent negative prices and quantities, require the product name and SKU, and ask for confirmation before deactivating a product.
In the same way, you can request clear empty states, error messages, and confirmation dialogs before destructive actions.
7. Test the complete purchase journey
Before publishing your store, go through the entire process as a customer would.
- Browse and filter products.
- Open a product page.
- Add items to the cart and change quantities.
- Create an account or sign in.
- Complete a test payment with Stripe.
- Open the order history page.
- Sign in as an administrator and review the order.
- Update its fulfillment status.
Don't stop at the happy path. Check the store on mobile, test what happens when a product is unavailable, and make sure empty states and error messages are easy to understand. If you find something that doesn't work, you don't need to edit the code manually. Describe what you're seeing and the behavior you want in chat.
8. Publish and connect a domain
Once you've completed all your tests, you can publish the store.
Click Publish, and Coderblock will deploy the application to production at a .coderblock.app address with SSL included.
Future releases can be deployed through quick hot updates.
If you want to use a custom domain, open Settings → Domains. You can connect a domain you already own by following the guided DNS record setup, or purchase one directly through Coderblock's integrated checkout. If you purchase a domain through Coderblock, DNS and SSL are configured automatically. Before promoting your store publicly, complete Stripe onboarding and switch from test mode to live payments. Place one final real order and verify that its record is saved correctly in the database.
Your store is live
At this point, you've turned a simple description into a real full-stack online store with a catalog, accounts, a shopping cart, payments, a database, and an admin area. Most importantly, the work doesn't end when you publish: you can keep improving your store through the same chat, adding new features and refining existing ones without interrupting your workflow.