
Build a Booking App with Coderblock, Step by Step
Learn how to build a full-stack booking app by describing it in Coderblock’s chat, refining the live preview, and testing the entire booking flow. You’ll add authentication, availability, an admin view, optional Stripe payments, and a production domain.

What you’ll build
In this tutorial, you’ll build a complete booking app where customers can sign up, browse available time slots, book an appointment, and manage their bookings. Staff will have an admin dashboard for reviewing and updating appointments.
Coderblock generates the React frontend, backend logic, Postgres database, authentication, and security policies from natural-language requests. You’ll guide development directly through chat, without having to manually write API routes, authentication code, or database migrations.
1. Start the project
Create a new project in Coderblock. You can start with the booking platform template or describe your app from scratch. To begin with a custom solution, use a prompt like this:
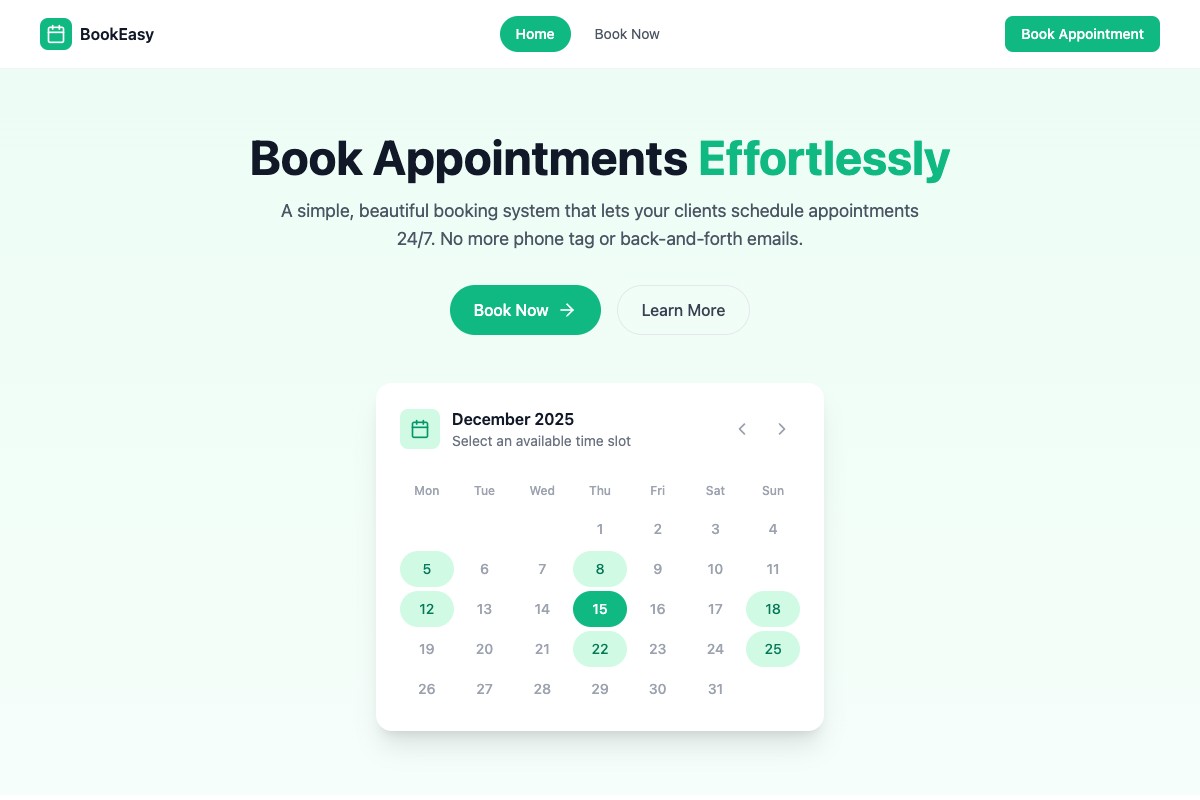
Build a responsive booking app for a wellness center. Visitors should be able to browse services and available time slots. Registered customers can book, reschedule, or cancel appointments. Staff need an admin dashboard for managing services, schedules, and bookings. Use a clean, calming design optimized for mobile devices.
Specify the type of business, who will use the app, how long appointments should last, and your preferred visual style. The more context you give the agent, the closer the first version will be to what you need.
2. Generate and review the first version
Coderblock generates a real full-stack app using React, Vite, TypeScript, and Tailwind CSS for the frontend. The app also gets a dedicated Supabase project with Postgres, authentication, storage, and Row Level Security.
Open the live development preview at your project’s .coderblock.dev address. As you continue working through chat, changes are applied and displayed within seconds.
Before adding new features, review the main screens:
- Home page
- Service list
- Availability calendar
- Booking form
- Customer account area
- Staff dashboard
If something doesn’t work or match what you had in mind, request targeted changes instead of starting over. For example:
Make the service cards more compact, add the duration and price to each card, and keep the booking summary visible on desktop.
Or:
On mobile, show the service selection first, followed by the calendar and then the available times.
3. Define the booking data
Now describe the information the app needs to manage. In this example, the core data covers services, staff members, availability, bookings, and customer profiles. You can use a prompt like this:
Create the database structure for services, staff, weekly availability, blocked dates, and bookings. Each booking should include the customer, service, staff member, start time, end time, status, notes, and payment status. Add appropriate relationships and indexes.
The agent designs the Postgres schema and runs the migrations. You can review the resulting tables in the editor’s Backend tab, along with authenticated users, storage, and functions. To make initial interface testing easier, you can also ask it to add some seed data:
Add three sample services with different durations and prices, two staff members, and availability for the next two weeks.
4. Add user login and permissions
Every app already includes a profiles table and a basic role structure. You can now ask Coderblock to create the complete account management experience:
Add customer registration and login with email and password. Protect the customer bookings page and the staff dashboard. Customers should only be able to view and edit their own bookings. Staff can manage all services, schedules, and bookings.
The agent configures Supabase Auth, session management, protected routes, and Postgres Row Level Security. You don’t need to create a custom password table or manually write JWT or password-hashing code. If you also want social login, you can request it explicitly. At this point, test both roles: sign in as a customer and as a staff member, then make sure each user can only view the appropriate data and use the actions available to their role.
5. Create reliable availability rules
A booking system needs more than a simple calendar. Available time slots must account for working hours, service duration, existing bookings, and any blocked periods. Describe these rules directly in natural language:
Generate available time slots based on each staff member’s working hours. Exclude blocked dates and existing bookings, allow a 15-minute buffer between appointments, and prevent customers from booking times that have already passed.
It’s also important to handle simultaneous requests:
Prevent double bookings at both the database and backend levels, even if two customers select the same time slot at nearly the same time. Show a clear message if a slot is no longer available before confirmation.
Test services with different durations, appointments close to closing time, cancellations, and fully booked days.
6. Create customer and admin workflows
The customer journey should be simple and predictable: choose a service, select a staff member if necessary, pick a time, confirm the details, and receive a booking confirmation. You can refine it with a prompt like this:
Add a final confirmation screen showing the service, staff member, date, time, duration, and price. After booking, take the customer to the My Bookings section, where they can reschedule or cancel future appointments.
For staff, request a more operational view:
Add an admin dashboard with daily and weekly booking views, filters for staff member and status, and controls to confirm, complete, or cancel a booking. Include summary cards for today’s bookings and upcoming appointments.
7. Review and test the entire stack
Now test the app with different users. Create two customer accounts and one staff account, then verify that:
- Unauthenticated visitors cannot access protected pages.
- Customers cannot view other customers’ bookings.
- Staff can manage bookings, while customers cannot access admin controls.
- Canceled time slots become available again when appropriate.
- Invalid or conflicting bookings are rejected.
- The layout remains easy to use on both desktop and mobile.
When you find a problem, describe exactly what you did and what you expected to happen in the chat. For example:
When a customer cancels an appointment, the time slot remains unavailable. Fix the availability calculation and add a test for this case.
8. Add Stripe payments, if needed
If appointments require a deposit or full payment, you can ask:
Allow customers to pay a $20 deposit when confirming a booking. Start in Stripe test mode and update the booking’s payment status after checkout is completed.
By default, the agent can create a managed Stripe account after asking you for details such as your country and business name. No API keys are required, and Coderblock handles the payment webhook. You can complete payment setup and identity verification later through the Stripe link provided by the agent.
If you prefer to use your own Stripe account, choose the BYOK option. The agent requests STRIPE_SECRET_KEY through a secure environment-variable workflow, stores it on the server, and automatically registers the webhook. Never enter sensitive information directly in the chat or generated code.
Before switching to live mode, test successful, canceled, and failed payments.
9. Publish the booking app
Once you’ve completed all testing, click Publish. Coderblock deploys the app to production at its .coderblock.app address, with SSL included. Future publishing runs apply updates quickly.
If you want to use a custom domain, open Settings → Domains. You can connect an existing domain by following the guided DNS setup or purchase one directly through Coderblock, in which case DNS and SSL are configured automatically.
Before considering the app ready, make a real test booking on the production domain. Verify login, availability, booking management, payments if enabled, and the staff dashboard. You now have a real full-stack booking app that is ready to use and can continue evolving through the same chat-based workflow.