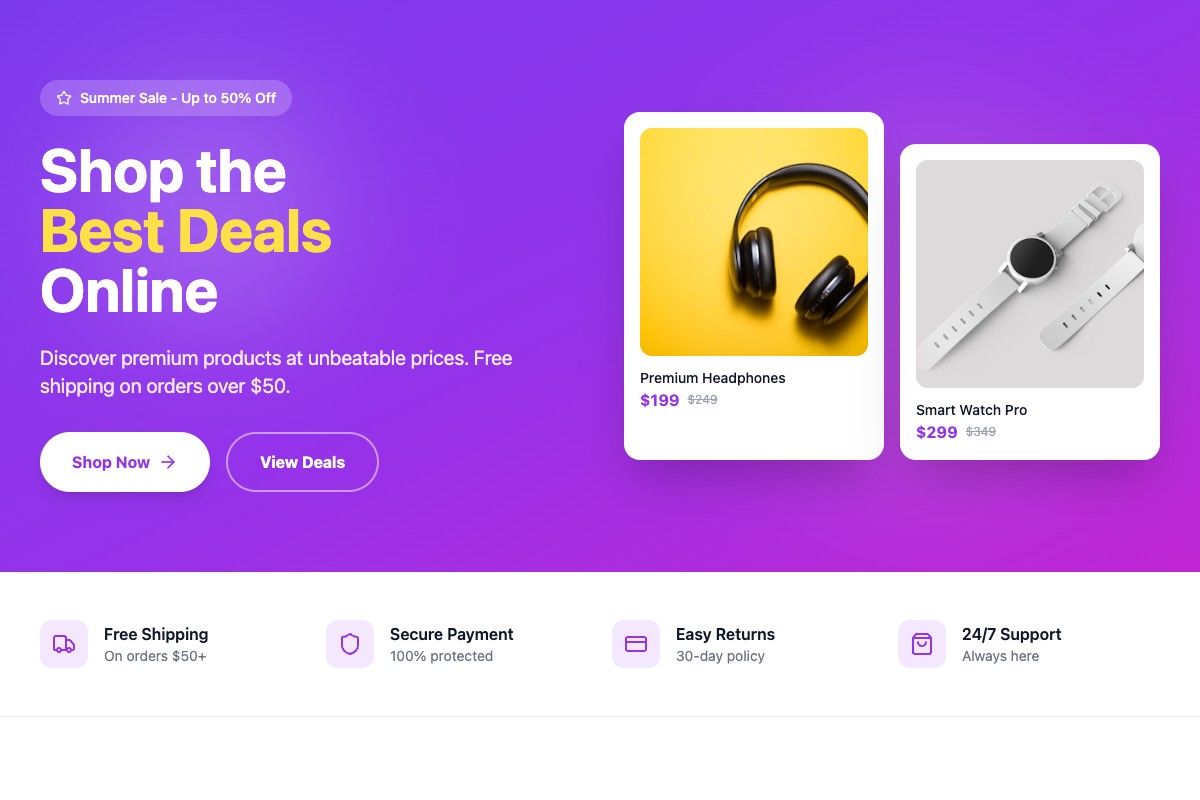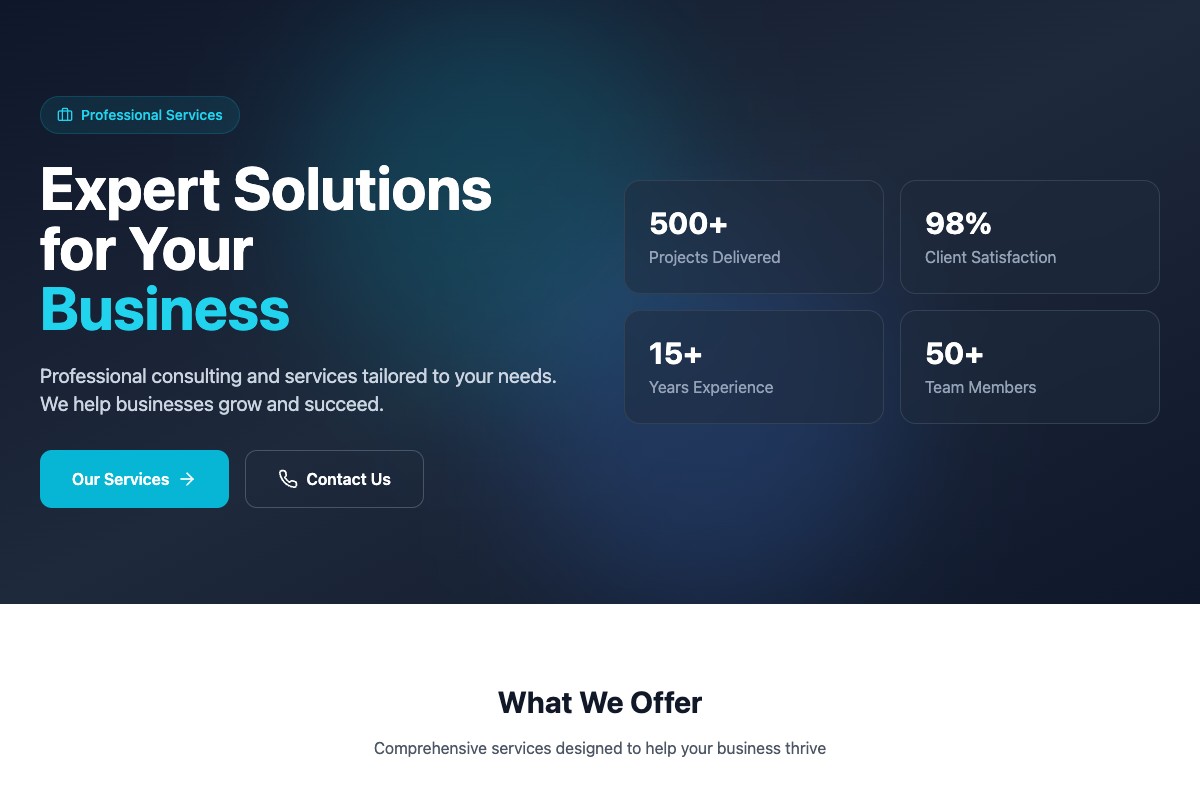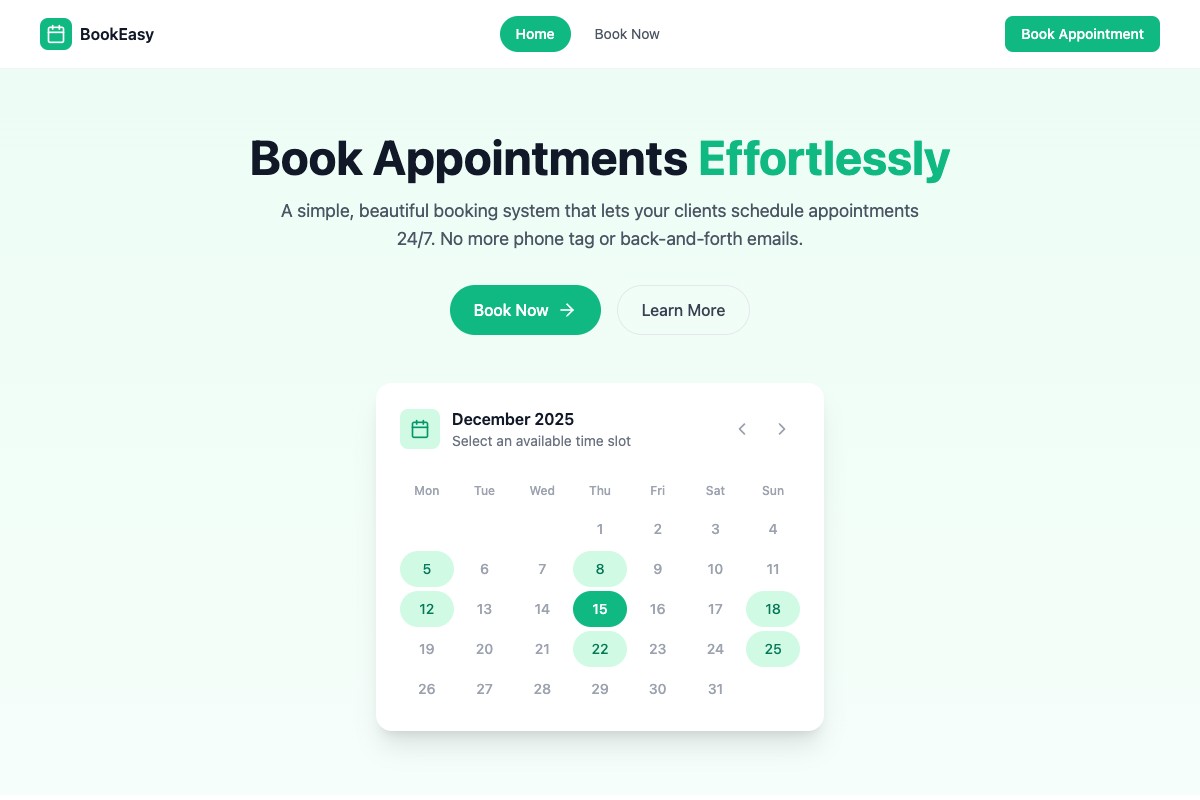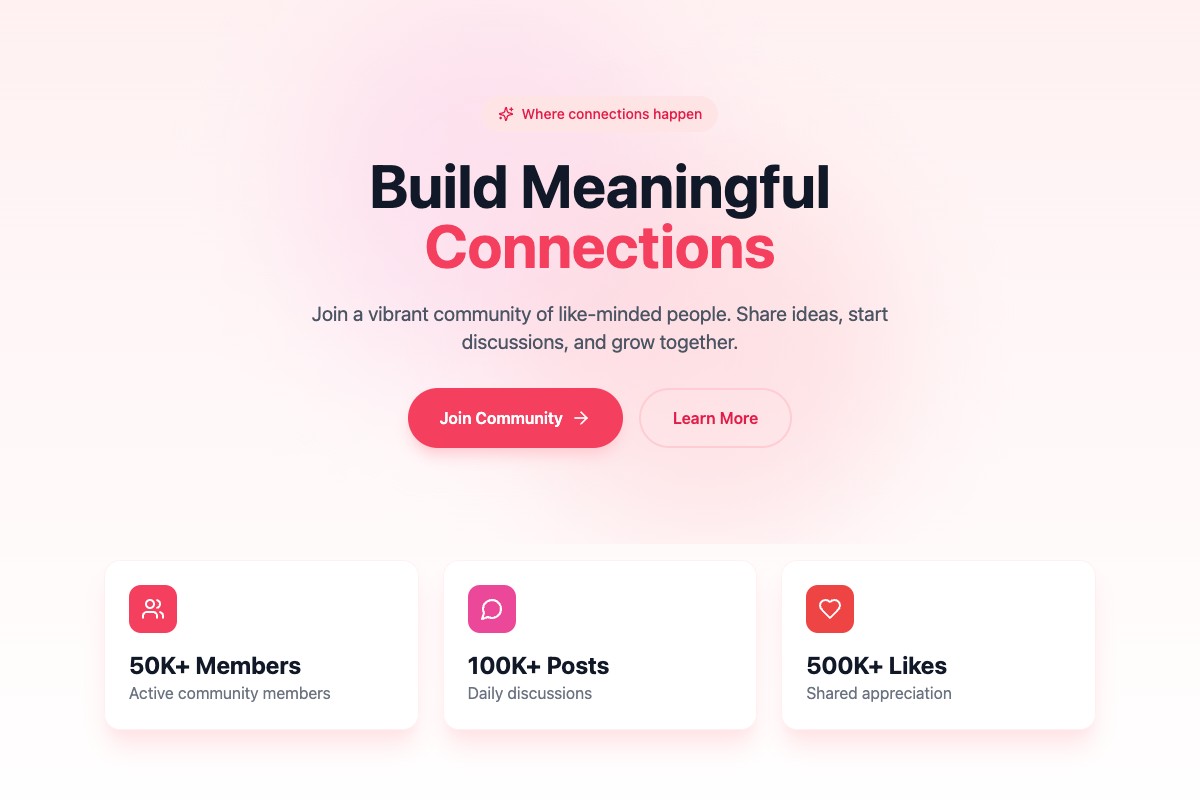

Add Stripe Payments to Your Coderblock App
Learn how to add real Stripe products, prices, and checkout flows to a Coderblock app simply by chatting with the AI agent. This tutorial covers managed and personal Stripe account setup, testing, database access, and publishing.

What you'll build
With Coderblock, you can add Stripe payments to an existing app without manually writing checkout endpoints, webhooks, or payment-handling code.
Simply describe what you want in the chat, and the agent connects the frontend, backend, database, and Stripe configuration needed to complete the integration.
In this tutorial, you'll learn how to add:
- a recurring subscription;
- a one-time payment.
You'll start in Stripe test mode, verify the entire customer journey, and then switch to real payments and publish your app once everything is working correctly. Before you begin, decide:
- what customers will purchase;
- whether the payment will be one-time or recurring;
- the price and currency;
- which features or content will become available after payment;
- whether you want to use a Stripe account managed by Coderblock or your own Stripe account.
Step 1: Open or create your app
Open the Coderblock project where you want to add payments. If you're starting from scratch, you can describe your app in natural language or choose one of the available product templates. For example:
Create a subscription website for online cooking classes. Visitors can browse the courses, but only paying members can watch the full videos.
Coderblock generates the frontend with React, Vite, TypeScript, and Tailwind, along with a real backend and a dedicated Postgres database for the project.
During development, you can preview the app at <app>.coderblock.dev. Changes are applied as you continue working with the agent in the chat.
If your app requires customer accounts, it's best to add them before setting up payments:
Add customer registration and login. Protect the members-only area so that only authenticated users can access it.
The agent uses Supabase Auth instead of creating a custom password table. It also configures session management, protected routes, and Postgres Row Level Security linked to each authenticated user.
Step 2: Describe your payment model
Now tell the agent what you want to sell. Include the product name, price, currency, billing frequency, and what should happen after checkout.
For a subscription
You can write:
Add a Cooking Club subscription for €9.99 per month. Authenticated customers should be able to subscribe from the pricing page. After payment, give them access to the protected members-only area.
For a one-time payment
Or:
Add a €49 one-time checkout for the Advanced Pastry Course. After payment, show that the customer has access to the course.
The agent will create the actual product and price in Stripe, configure the checkout experience, link it to the authenticated customer, and add the backend logic needed to record the payment status. It will also handle the Stripe webhook integration. At this point, check the live preview. Make sure the following are exactly what you want:
- product name;
- price;
- billing frequency;
- call to action;
- post-checkout experience.
If you want to change anything, simply ask in the chat:
Change the button text to “Start your subscription” and display a short list of benefits above it.
Step 3: Choose how to connect Stripe
Coderblock supports two ways to connect to Stripe. The managed option is the default and does not require API keys.
Option A: Use a managed Stripe account
Ask the agent to continue with the default managed setup. It will ask a few simple questions, such as your country and business name, and then create the Stripe account for the project. You don't need to copy API keys or configure webhooks manually: Coderblock manages the payment webhook and connects the project automatically. You can complete identity verification and payout setup later through the Stripe onboarding link provided by the agent. When you're ready to accept real payments, open the link and provide the business information required by Stripe.
Option B: Use your own Stripe account
If you already have a Stripe account and want to connect it to the project, write:
Connect this project to my existing Stripe account.
The agent will request STRIPE_SECRET_KEY through a dedicated secure environment variable field.
Enter the key only in that field.
Coderblock stores secrets in the project's server-side secret store, preventing the key from being added to generated code or displayed in the chat.
After receiving the key, the agent automatically registers the required webhook and completes the integration.
Do not manually add secrets to frontend files or ask the app to expose them in browser-executed code.
Step 4: Test the entire checkout flow
Keep the integration in test mode until you have confirmed that the entire journey works correctly. Open the live preview and test the experience as a customer would:
- Create a test user account or log in with an existing one.
- Open the pricing or product page.
- Select the paid product.
- Complete the Stripe test checkout.
- Return to the app after the test payment.
- Confirm that the correct content, feature, or account status is unlocked.
- Refresh the page or log in again to confirm that access remains active.
Don't test only the successful path. Also try using an account that has not paid and confirm that it cannot access protected paid features.
Check the backend too
From the Backend tab in the Coderblock editor, you can inspect:
- tables;
- authenticated users;
- storage;
- app functions.
Confirm that payment or subscription information is associated with the correct authenticated user. Row Level Security should also prevent customers from reading or modifying another customer's private data. If something doesn't work as expected, describe the behavior you observed to the agent instead of trying to edit the payment code manually. For example:
Checkout succeeds, but the members-only dashboard remains locked. Update access after the Stripe payment is confirmed and make sure it still works after the user logs in again.
The agent can then update the frontend, database schema, security rules, and backend behavior.
Step 5: Add customer and administrator views
A good payment flow should make the customer's account status clear after checkout. For example, you can ask the agent:
Add a billing section to the customer account page that shows the current plan and payment status.
You can also create a dedicated administrator view:
Add a protected admin page listing customers, their selected product, and their current payment status. Only users with the administrator role can open it.
Coderblock apps already include a profiles table and a basic role structure. The agent can therefore link administrative access to authenticated roles and apply the appropriate database policies.
Step 6: Switch to real payments and publish
Once you've confirmed that checkout, accounts, and protected routes all work correctly, tell the agent you're ready to switch to real payments. Before proceeding:
- confirm the final prices;
- verify the currency;
- check the billing intervals;
- complete any Stripe payout setup steps;
- complete identity verification if required.
Then perform one final review of the live-mode configuration.
Make sure the production product, price, currency, billing interval, post-payment behavior, and members-only features are all correct.
When everything is ready, click Publish.
The app will be deployed to <app>.coderblock.app, with SSL included.
If you prefer to use a custom domain, open Settings → Domains. You can connect a domain you already own by following the guided DNS setup or purchase one directly through Coderblock, with automatic DNS and SSL configuration.
One final production test
After publishing, test the checkout again in the production environment. The switch from test to live mode deserves a dedicated review: make sure the correct product can be purchased, the payment updates the account correctly, and restricted content is accessible only to authorized users. If you need to make changes, you can continue working in the chat, verify them in the live preview, and publish a new update.
Final checklist
Before accepting real customers, confirm that:
- Product names, prices, currencies, and billing intervals are correct.
- Login is required when payments need to be associated with a user.
- Successful payments unlock only the intended features.
- Non-paying users cannot access protected content.
- Payment data is associated with the correct account.
- Row Level Security protects customer data.
- Secrets were provided only through secure fields.
- Stripe onboarding is complete so you can receive real payments.
- The production domain and post-checkout return flow work correctly.
Done. Your Coderblock app now has a real Stripe payment flow connected to the frontend, backend, authentication, and Postgres database. Most importantly, you can continue updating it simply by describing what you want to change in the chat.